
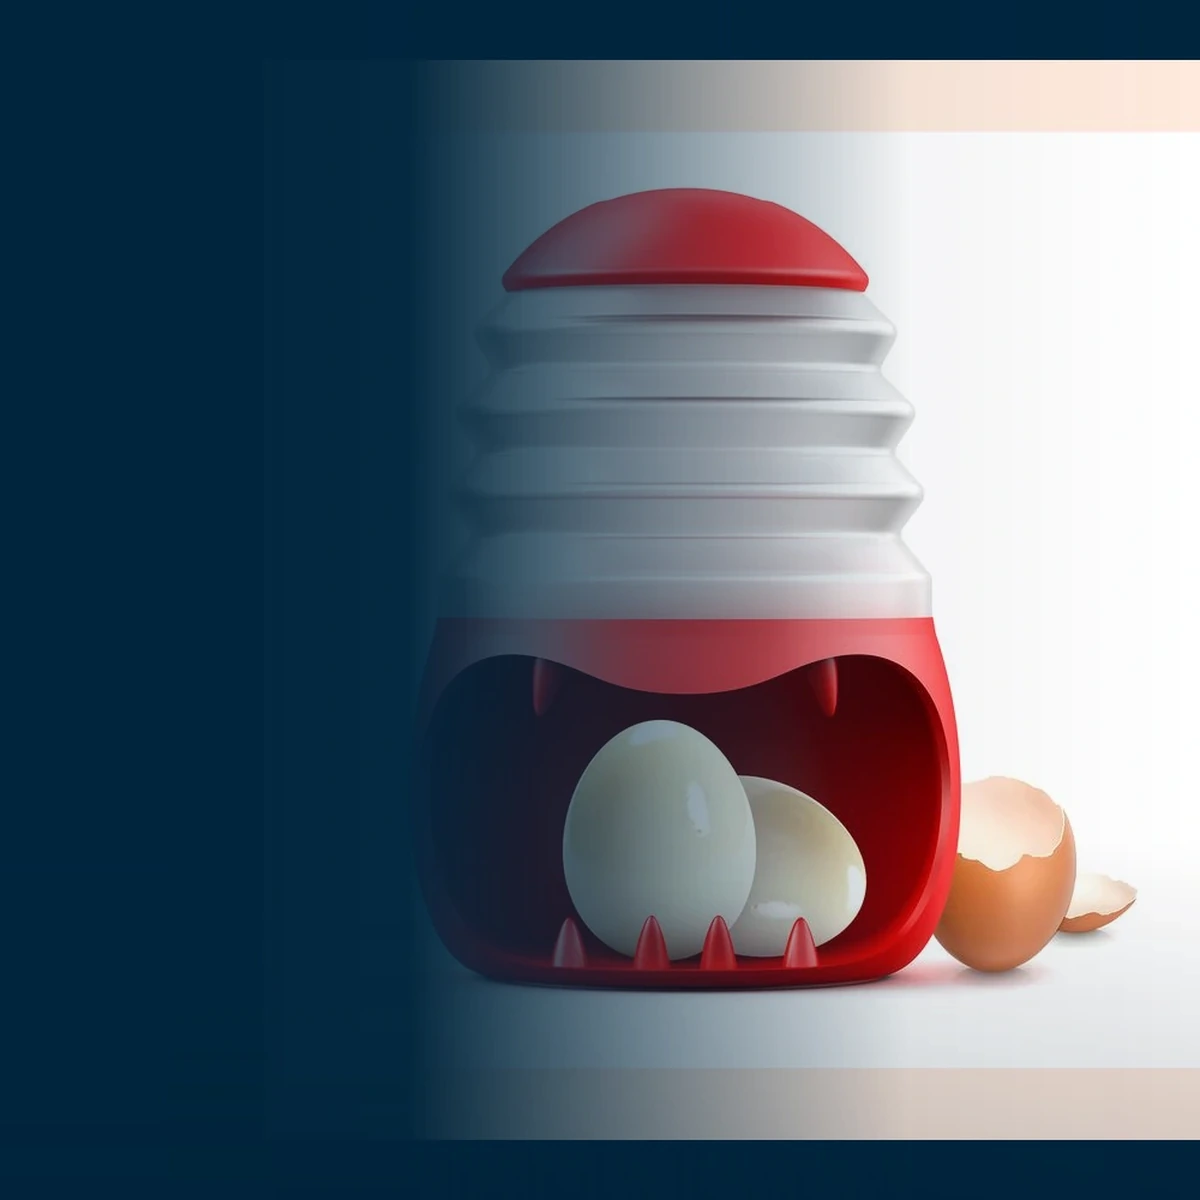
The short answer: follow the setup instead of turning the tool into a force test. Start with a cooked and cooled hard-boiled egg. Make a small opening at both ends, place the larger end down in the red holder, cover it with the white accordion air dome, and use a quick, controlled press. If the egg does not release, reposition it and repeat as needed. An intact egg or the same result every time is not guaranteed.
Those preparation details matter more than a dramatic demonstration. The ANGEER Pop It or Eat It boiled egg peeler uses a red holder and a removable white dome. It is designed only for cooled hard-boiled eggs after both ends of the shell have been opened. It is not for raw eggs, and it does not remove the need to prepare the shell first.
Before you press, check these four conditions
Before pressing, stop and check the setup. The supplied egg peeler instructions call for four conditions: the egg is hard-boiled and cooled, both ends have a small opening, the larger end faces down, and the dome covers the holder squarely.
| Check | What the instructions require | What not to assume |
|---|---|---|
| Egg condition | Cooked, hard-boiled, and cooled | The tool is not intended for a warm or raw egg |
| Shell preparation | A small opening at both ends | A fully closed shell is not ready for the tool |
| Orientation | The larger, rounder end faces down | Either direction is not treated as interchangeable |
| Pressing | Cover, press, then reposition and repeat as needed | There is no verified fixed number of presses |
The Egg Safety Center advises cooling hard-cooked eggs under water or in ice water, then refrigerating them after cooling. That is general food-handling guidance, not an ANGEER performance test. If you are preparing eggs for later, the same source says refrigerated hard-cooked eggs should be used within one week.
How to use a hard boiled egg peeler step by step
- Cool the hard-boiled egg. Do not move straight from cooking to pressing. Follow suitable egg-cooling and storage guidance first.
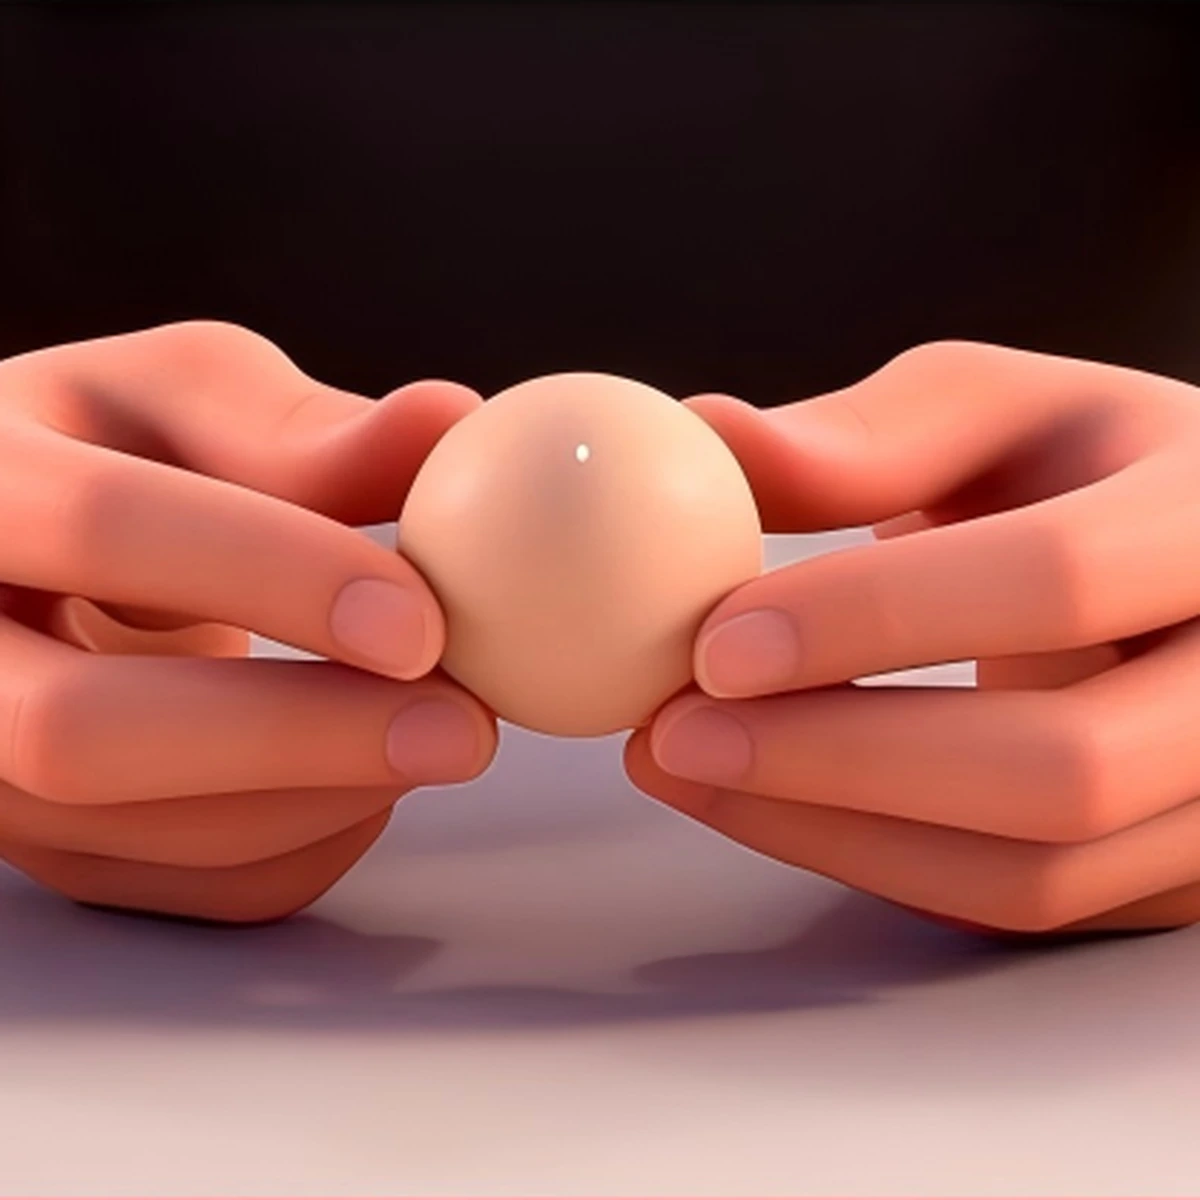
- Make a small opening at the top. Remove enough shell to create the opening shown in the supplied instructions. Do not turn the opening step into broad shell removal.
- Make a second opening at the larger end. Both ends need an opening before the egg goes into the holder.
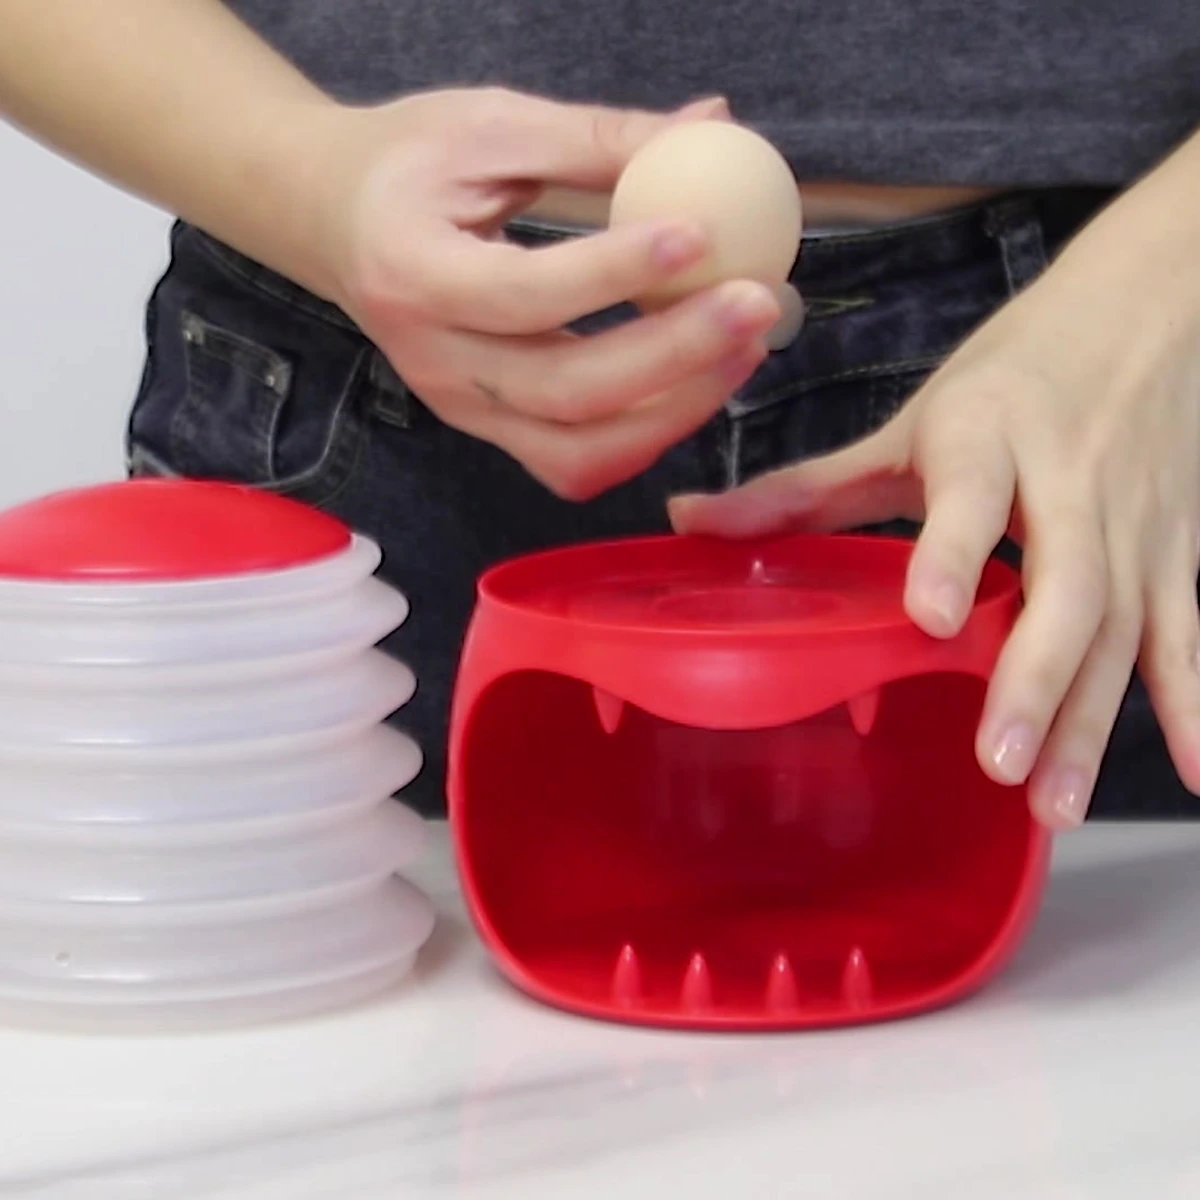
- Place the larger end down. Set the egg in the red holder with the rounder end at the bottom.
- Cover the holder with the white dome. Center the removable accordion dome over the egg and holder rather than pressing it from an angle.
- Press, check, and reposition. Use the supplied quick press action. If the egg does not release, lift the dome, reposition the egg, and repeat as needed. Stop if the egg is splitting or the setup is no longer stable.
The instructions do not give a magic press count, and this guide will not invent one. Egg condition, cooling, shell thickness, opening size, and technique can vary. Treat each press as a check point. If the egg is not releasing cleanly, resetting the position is more faithful to the instructions than leaning harder on the dome.
Know the two parts before you add the egg
The tool has a red holder and a removable white accordion air dome. Separate them before setup so you can see where the egg sits and which part moves during the press. The holder stays on a stable work surface. The dome goes over the holder only after the cooled egg has been prepared and placed larger-end down.
This is a different routine from ordinary hand peeling. Hand peeling asks you to crack and remove shell directly. This hard boiled egg peeler tool adds preparation at both ends, a specific orientation, and a press-and-reposition step. That difference is useful only if you are willing to follow the setup. The device is not a shortcut around every part of peeling.
How to press without treating the egg like something to crush
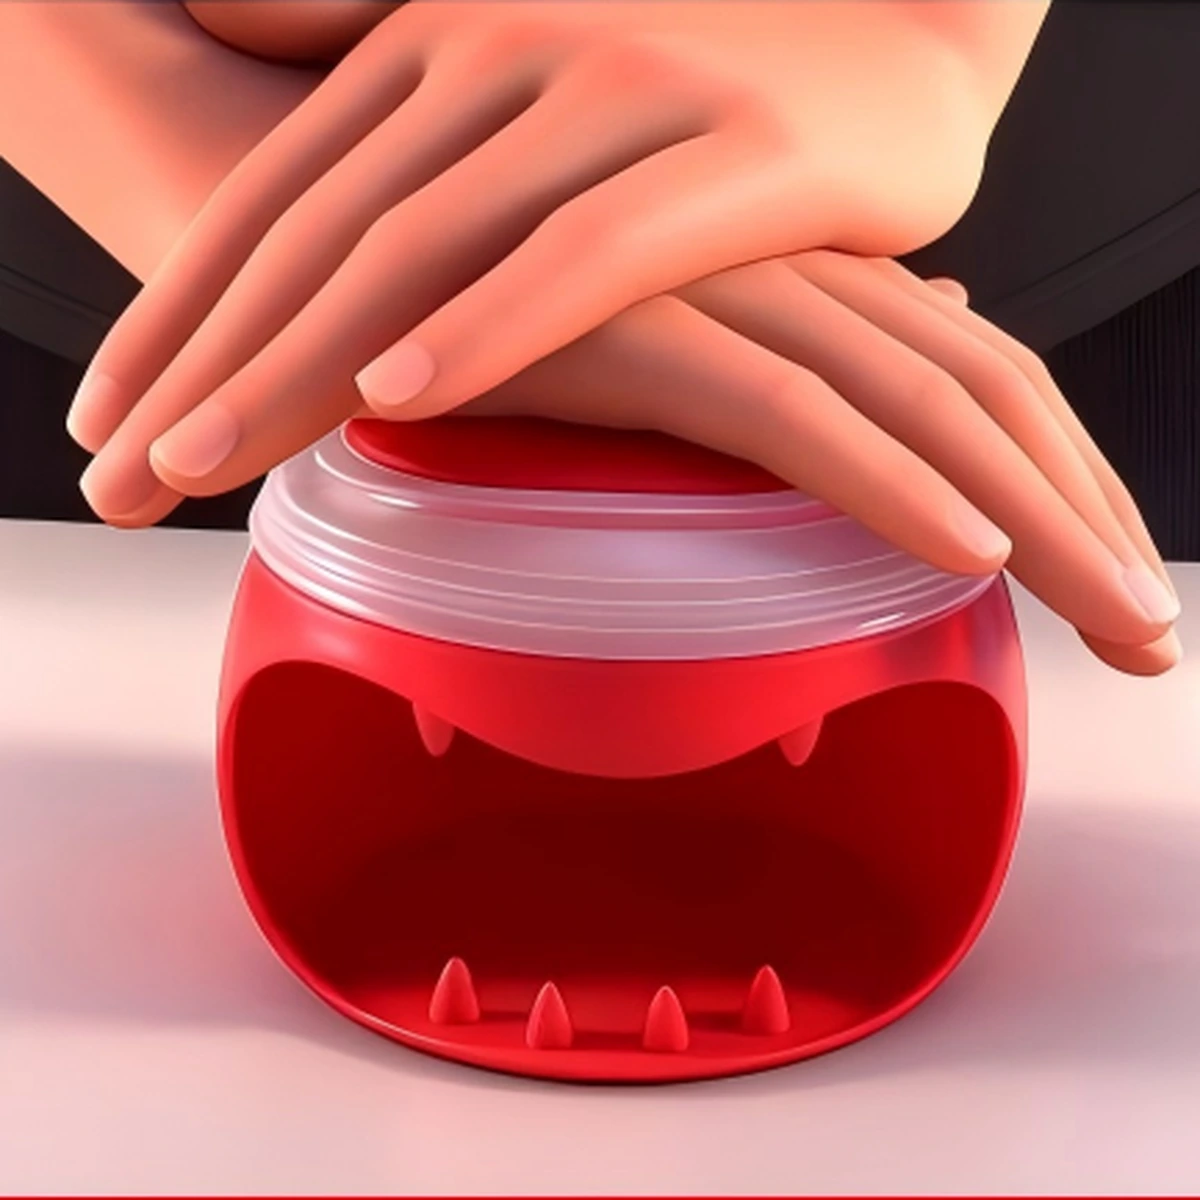
Place the holder where it cannot slide, bring the dome down squarely, and keep the motion controlled. The supplied sequence calls for a quick press followed by a check. It does not say to hold the dome down continuously or to keep adding force until something happens.
After a press, lift the dome and look at the egg. If it has shifted without releasing, reposition it before trying again. If the shell is breaking into a wide patch or the egg itself is splitting, stop using the press and finish that egg by hand. That is not a failed promise. Variable results are part of the verified limitation, and a damaged egg should not be used as a reason to press harder.
Keep the holder upright while pressing. If the dome is tilted or only one side is seated, reset it before the next attempt. A square setup gives you a clearer, more repeatable motion, even though it cannot guarantee the same outcome for every egg.
Egg peeler troubleshooting
| What you see | What to check | A practical next step |
|---|---|---|
| The egg stays in place | Cooling, two openings, and larger-end orientation | Reset any missing condition before pressing again |
| The dome moves unevenly | Whether it covers the holder squarely | Lift it, center it, and use a controlled press |
| The egg shifts but does not release | Opening size and egg position | Reposition and repeat as needed without inventing a fixed count |
| The egg begins to split | Whether continued pressing would add damage | Stop and finish that egg by hand |
| Part of the shell remains attached | The result after the press | Remove the remaining shell by hand instead of treating a partial release as a guarantee failure |
Do not use a troubleshooting table to create a causal story that the evidence does not establish. The verified sources say results can vary with several conditions, but they do not prove why a particular egg behaved a particular way. Check the visible setup, correct what you can, and accept that the final shell may still need hand peeling.
Is this egg peeler a good fit for your kitchen?
This tool is most likely to fit a routine that already includes hard-boiled eggs and a willingness to prepare both ends of the shell. It gives you a defined sequence to try: cool, open, orient, cover, press, and reposition. For someone who enjoys a small breakfast-prep gadget and makes hard-boiled eggs regularly, that sequence may be worth the storage space.
It is a poor fit if you want a tool for raw eggs, expect zero preparation, or need a perfect result every time. It may also be unnecessary if you rarely make hard-boiled eggs or prefer to peel every egg by hand. Decide whether you will actually do the two opening steps and accept a variable outcome. A quick gadget video cannot answer that for you.
If you are comparing several small tools for the same part of the day, the breakfast routine guide can help you decide which task is worth simplifying first. Do not buy a single-purpose tool simply because it can be demonstrated quickly. Buy it only if the required setup fits what you already cook.
Care questions should stay evidence-based
The verified T002 source package does not establish a dishwasher-safe claim, a material certification, or a special sanitation promise. Do not infer any of those from the product’s appearance. Follow the current instructions for the exact item you receive. If the care line is missing or unclear, use ANGEER support before choosing a cleaning method that could affect the tool.
Storage is simpler to judge. Keep the two parts together so the dome and holder are available for the same prep session, and place the tool where it will not be compressed by heavier kitchen items. This is organization advice, not a durability claim.
A realistic first use
For the first attempt, use one cooled hard-boiled egg and work through the full sequence without rushing. Prepare both ends, place the larger end down, center the dome, press, then check. Reposition only when needed. If the egg begins to break or does not release cleanly, finish it by hand and review the setup before the next egg.
After one careful attempt, you will know whether the preparation steps fit your breakfast routine and whether the two-piece design is comfortable for you to handle. You will also see how much finishing by hand, if any, that egg still needs. Keep the tool if that real routine makes sense for your kitchen, not because an article promises a perfect egg.
Sources
- Egg Safety Center, Your Guide to Egg Safety: From the Farm to Your Fridge. Used only for general hard-cooked egg cooling, refrigeration, and one-week storage guidance. Accessed August 29, 2026.
- ANGEER supplied product instructions and the current Pop It or Eat It Boiled Egg Peeler product page. Used for the product’s two parts, required openings, orientation, press sequence, and stated result limits.
Practical answers
Hard-boiled egg peeler FAQ
Do I need to make openings at both ends before using the egg peeler?
Yes. The supplied instructions require a small opening at both ends of a cooked and cooled hard-boiled egg before it is placed in the tool. A fully closed shell is not the verified setup.
Which end of the hard-boiled egg faces down?
Place the larger, rounder end down in the red holder. Then cover the egg and holder with the removable white accordion air dome.
How many times should I press the egg peeler?
There is no verified fixed number. Press, check the egg, then reposition and repeat as needed. Stop pressing and finish by hand if the egg is splitting or the setup is no longer stable.
Can I use the tool with a raw egg?
No. The verified instructions limit the tool to cooked and cooled hard-boiled eggs. It is not a raw-egg opener.
Will a hard-boiled egg peeler keep every egg intact?
No tool can guarantee the same result for every egg. Cooling, shell thickness, opening size, and pressing technique can vary, so some eggs may still need to be finished by hand.
Is the ANGEER hard-boiled egg peeler dishwasher safe?
The verified T002 evidence does not establish a dishwasher-safe claim. Follow the current care instructions for the exact item, or ask ANGEER support before choosing a cleaning method.